
Community Data Organization
All community data in one place accessible by members
Member Information Management
Keep member details,Dues, Contributions, and transaction history

Comprehensive Community Reports
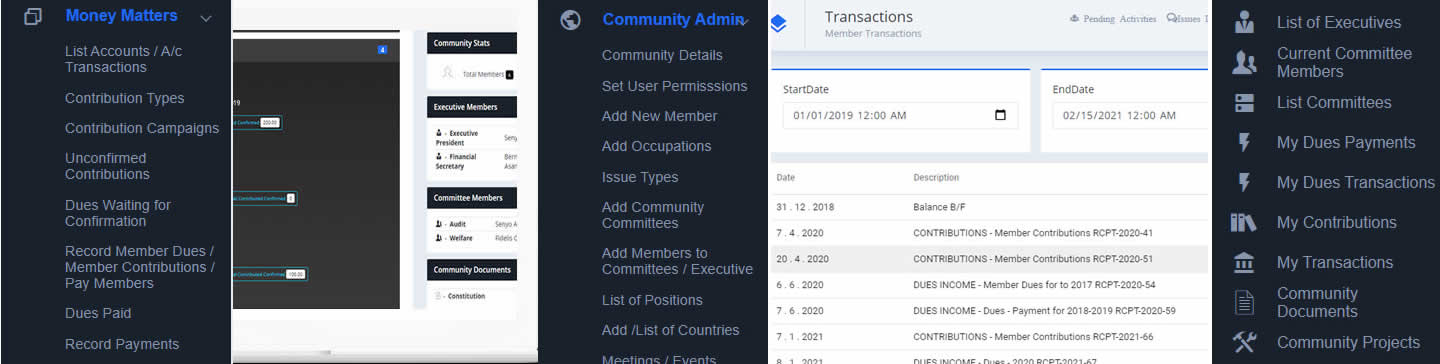
Transaction Reports, Receipts, and Member Details at your fingertips

Complete Financial Management
Dues, Contributions, Loans, and Expenses - All on one platform
Community App Documentation
- Register to be able to create a Community
- Check your email used for registration to confirm your email
- After registering, login to Create a Community
- You can enter the Community Space after creating the Community
After creating a community, you become the Admin
-
Setup the Community Details - (Community Admin Menu)
- Open the Community Details Menu
- Add the Facebook Group Name if you have one
- Enter the monthly Dues Amount
- Enter the Date to start recording Dues on the Web App (The System will start all payments from this date)
Give the Community Code to people in your community to join the online Community Platform
Once they register, the can enter the code to join the community
You can also add members to your community manually, especially to those without emails or access to the internet.
2. Accounting User
An Accounting User manages all the accounting transactions of the group, confirms member Dues and Contribution entries.
3. Admin User
An Admin User manages all the administrative operations
1. Updates Community Details
2. Sets User Permissions
3. Adds new members to the community
4. Sets Issue / Concern Types
5. Adds Community Committees
6. Adds Committee Members
7. Adds members to the community positions e.g. President, Secretary etc
8. Adds Upcoming Meetings and Events
9. Uploads Documents
10. Add Community Projects
Members can record their payments to be confirmed by the Accountant or Treasurer of the Community
The Accounting User creates a Contribution Campaign in the name of a Project or a Member for members to contribute.
Each member selects the campaign he/she wants to contribute to and records the amount contributed
The Accounting User confirms all member contributions recorded by members.